
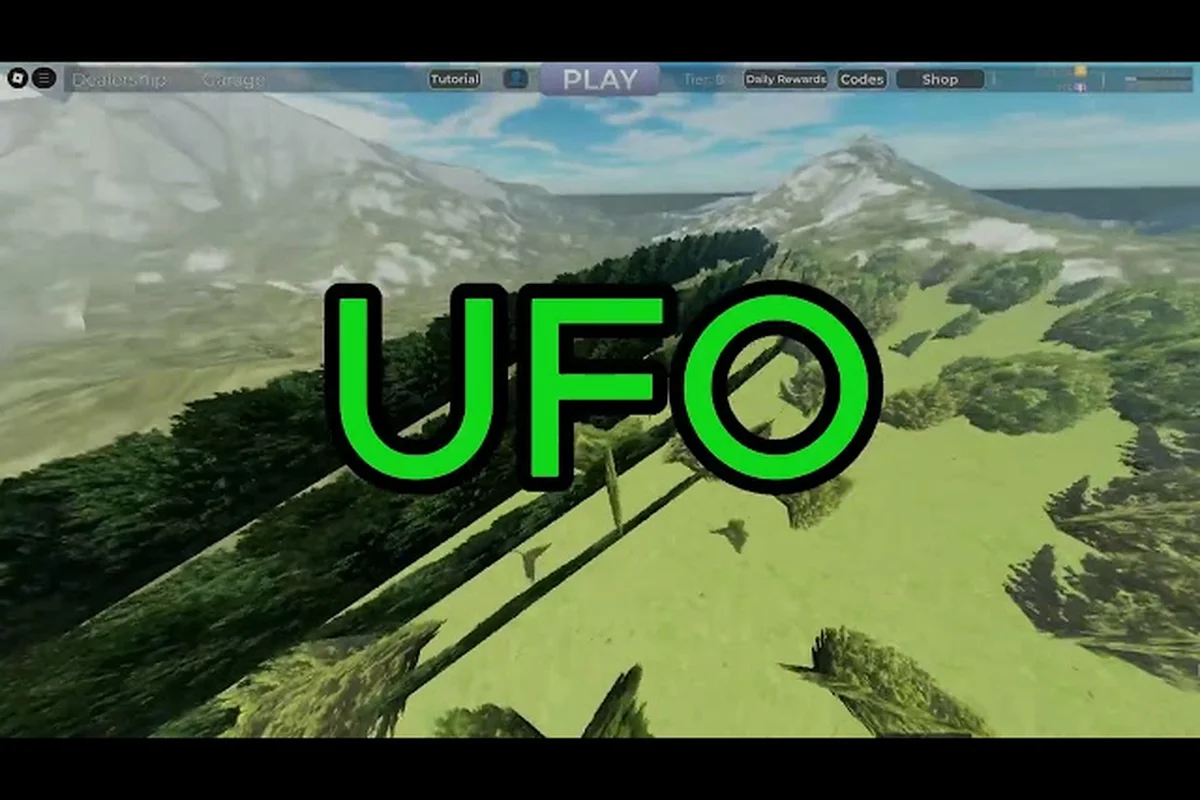
The Cursed Tank Simulator garage is the command center for every battle-ready build, yet most players only scratch the surface by swapping a cannon and calling it a day. This cursed tank simulator garage guide breaks down every menu, module slot, and hidden shortcut so you can turn a stock hull into a long-range nightmare before you ever leave the spawn screen. Because the garage controls everything from weather to ammo selection, understanding it directly determines whether you dominate the leaderboard or get penned on the first shot.
The official Cursed Tank Simulator Roblox page confirms the game revolves around mixing and matching modules to create cursed tanks, with no pay-to-win elements and premium benefits that only boost cash, XP, and crate rewards by 50 percent. That means your garage decisions carry real weight, since every player earns the same gear through gameplay rather than purchases. If you are new to the game, the beginner guide covers the core loop of earning money, unlocking crates, and surviving your first few battles.
Understanding the Cursed Tank Simulator Garage Layout
The garage interface splits into three primary zones: the vehicle preview area on the left, the module loadout panel on the right, and the action bar along the bottom. Each zone serves a distinct purpose, and knowing what belongs where saves you from hunting through menus mid-session. The preview area lets you rotate your tank freely to inspect armor angles, while the loadout panel shows every equipped part with its stats at a glance.
The action bar contains the critical buttons that new players often overlook, including the weather toggle, camera reset, and test drive option. According to community reports on the Roblox page, pressing K in the garage changes the weather instantly, which is a feature many veterans use to test their tank under different visibility conditions. The bottom bar also houses your cash balance, XP progress, and crate count, so you always know your current resources without backing out to the main menu.
| Garage Zone | Primary Function | Key Shortcut |
|---|---|---|
| Preview Area | Rotate and inspect tank model | Left-click drag |
| Module Panel | Equip hull, turret, tracks, and gadgets | Click to swap |
| Action Bar | Weather, test drive, and settings | K for weather |
| Resource Display | Track cash, XP, and crates | Always visible |
| Garage Slots | Save multiple tank configurations | Up to 5 slots |
The garage also supports multiple saved loadouts, which is a lifesaver when you want to switch between a sniper build and a brawler setup without rebuilding from scratch. Each slot remembers your exact module combination, so you can name them by role and swap in seconds between matches. This becomes especially valuable when you are grinding through the progression guide and unlocking new parts faster than you can test them all.
Navigating the Module Loadout Panel
The module loadout panel organizes your tank into five core categories: hull, turret, cannon, tracks, and gadgets. Each category has its own submenu with every unlocked option displayed as a card showing the part name, tier, and key stats. The panel highlights which parts are newly unlocked with a glowing border, so you never miss a fresh upgrade after opening crates.
When you hover over any part card, a tooltip appears with detailed stats including damage, penetration, reload time, accuracy, and weight. Weight matters more than most new players realize, because heavier modules reduce your top speed and acceleration, which can leave you vulnerable on open maps. The game does not show a total weight stat in the main view, so you have to add up the numbers yourself or rely on community spreadsheets.
Saving and Managing Multiple Loadouts
The loadout save system works through the action bar, where you can name each configuration and assign it to one of five slots. This is particularly useful when you want to experiment with different playstyles, since you can save a long-range sniper setup, a close-quarters brawler, and a balanced all-rounder without losing your progress on any of them. The game remembers your last used loadout per slot, so switching between matches takes one click instead of five minutes of menu navigation.
Players who report the most success with the garage recommend naming loadouts by map type rather than by role, because certain modules shine on specific terrain. For example, a fast track setup with a light hull works wonders on open desert maps, while heavy armor and a high-damage cannon dominate narrow city streets. The save system costs nothing, so there is no reason not to experiment with different combinations every time you unlock a new part.
How to Change Weather in the Garage
Changing the weather in Cursed Tank Simulator is one of the most underrated garage features, and the official Roblox page confirms that pressing K in the garage toggles the weather instantly. This shortcut works only in the garage, not during active matches, so you have to set your preferred conditions before deploying. The weather system affects visibility, shell drop, and traction, which means the same tank can feel completely different depending on the forecast.
The garage offers five weather presets: clear, rain, snow, fog, and storm. Each preset changes the lighting and adds visual effects that impact how you aim and lead your shots. Clear weather gives you maximum visibility with no shell drop modifiers, while rain and snow reduce visibility slightly and add a small accuracy penalty. Fog is the most punishing for long-range play because it cuts your effective view distance dramatically, while storms combine heavy rain with lightning flashes that can obscure your target at critical moments.
| Weather Preset | Visibility | Shell Drop | Traction | Best For |
|---|---|---|---|---|
| Clear | Maximum | Standard | Standard | Sniping and long-range |
| Rain | Reduced | Slight increase | Reduced | Close-quarters combat |
| Snow | Reduced | Slight increase | Significantly reduced | Ambush tactics |
| Fog | Severely reduced | Standard | Standard | Stealth and flanking |
| Storm | Heavily reduced | Increased | Reduced | Chaos and disruption |
The weather you choose should match your tank build and intended playstyle, because fighting against the elements wastes your advantage. A sniper build with high penetration struggles in fog because you cannot see far enough to use your range effectively, while a brawler build thrives in storms where the chaos favors aggressive pushes. Community testing suggests that clear weather is the default choice for competitive play, since it removes variables and lets skill decide the outcome.
Testing Your Tank in Different Weather
The test drive feature in the garage lets you spawn into a practice range with your current loadout and the selected weather, giving you a chance to verify your setup before committing to a real match. This is where you should spend a few minutes checking your shell drop at long range, turret traverse speed, and overall mobility under the exact conditions you plan to fight in. The practice range includes stationary targets at various distances, so you can dial in your aim without the pressure of enemy fire.
Players who skip the test drive often discover too late that their build has a critical flaw, such as a turret that cannot rotate fast enough to track a moving target or a cannon that drops shells too quickly at range. The test drive costs nothing and takes less than two minutes, making it one of the highest-value habits you can develop in the garage. If you want to refine your aim further, the how to shoot guide covers shell drop compensation and leading targets in detail.
Weather Impact on Shell Ballistics
The weather system does more than change the visuals, because each preset applies hidden modifiers to shell ballistics that experienced players account for when aiming. Rain and storm conditions increase shell drop by roughly 5 to 10 percent, which means you need to aim higher than usual to hit targets at long range. Snow reduces traction so significantly that your tank slides when turning, making it harder to hold a steady aim position while moving.
Fog does not affect shell drop but severely limits your ability to spot enemies, which forces you to rely on map knowledge and sound cues rather than visual confirmation. The storm preset combines heavy rain with lightning flashes that can blind you at the worst possible moment, so experienced players often avoid it in competitive matches. Understanding these modifiers is essential for the cursed tank simulator how to aim aspect of the game, because your lead and elevation adjustments must change with the forecast.
Setting Up Your Tank for Long-Range Accuracy
Long-range accuracy in Cursed Tank Simulator depends on three factors: cannon choice, turret stability, and ammo selection. The garage lets you fine-tune all three, and the difference between a stock build and a tuned sniper is night and day on open maps. A high-penetration cannon with a slow reload beats a rapid-fire cannon with low penetration when you are engaging targets beyond 500 meters, because you need every shot to count at that distance.
The cannon selection menu shows each weapon's damage, penetration, reload time, and accuracy rating, with higher tiers generally offering better stats across the board. However, higher-tier cannons also weigh more, which slows your tank and reduces your ability to reposition after firing. The best sniper cannons balance penetration and accuracy while keeping reload time manageable, so you can maintain consistent fire without leaving yourself exposed for too long.
| Cannon Type | Damage | Penetration | Reload | Accuracy | Best Range |
|---|---|---|---|---|---|
| Light Auto | Low | Low | Very Fast | Medium | Close |
| Standard | Medium | Medium | Medium | Medium | All-round |
| Heavy Sniper | High | High | Slow | High | Long |
| Artillery | Very High | Very High | Very Slow | Low | Extreme |
| Rapid Burst | Medium | Medium | Fast | Low | Medium |
The turret stability stat determines how much your aim wobbles when you stop moving, and it directly affects your ability to land shots at long range. A turret with high stability settles quickly after you stop, letting you fire accurately within a second of coming to a halt. Low stability turrets keep wobbling for several seconds, which means you have to wait longer between stopping and firing or risk missing your target entirely.
Choosing the Right Cannon for Your Playstyle
Your cannon choice should match your intended engagement distance, because a weapon that excels at close range becomes useless when you try to snipe across the map. The heavy sniper cannon is the go-to choice for long-range play, offering high damage and penetration with a slow reload that punishes missed shots. The artillery cannon pushes this further with extreme damage and penetration but requires you to arc your shots, which takes significant practice to master.
The light auto cannon serves a completely different purpose, trading damage and penetration for an extremely fast reload that lets you keep constant pressure on enemies. This works well in close-quarters combat where you can afford to miss a few shots, but it struggles at range because the low accuracy spreads your shells across a wide area. The rapid burst cannon sits in the middle, offering a compromise between fire rate and accuracy that suits players who want flexibility.
Ammo Selection and Penetration Mechanics
Ammo selection is the most overlooked aspect of the garage, because most players stick with the default shell type without realizing the alternatives exist. The garage offers standard shells, high-explosive shells, and armor-piercing shells, each with different damage profiles and penetration values. Standard shells offer balanced performance, while high-explosive shells deal more damage to lightly armored targets but struggle against heavy armor.
Armor-piercing shells penetrate deeper but deal less raw damage, making them the best choice against heavily armored tanks. The penetration mechanics in Cursed Tank Simulator follow a weak spot system, where hitting certain areas of a tank deals bonus damage or bypasses armor entirely. If you want to learn the exact weak spots for top-tier tanks, the penetration guide breaks down where to aim against tier 11-12 vehicles based on community testing.
Mastering the Cursed Tank Simulator How to Aim
Aiming in Cursed Tank Simulator requires more than pointing your crosshair at an enemy, because shell drop and travel time mean you have to lead your targets and compensate for distance. The how to aim aspect of the game is the difference between a player who lands every shot and one who constantly misses, and the garage gives you the tools to practice both. The test drive range includes moving targets that simulate real combat conditions, letting you practice leading shots without the risk of being destroyed.
The crosshair system shows a distance indicator that helps you estimate shell drop, with the reticle expanding and contracting based on your turret stability. A fully settled crosshair means your shot will land where you aim, while an expanded crosshair means your shell may drift from the center. Waiting for the crosshair to settle is critical at long range, because even a small wobble translates to a significant miss at 500 meters.
Leading Moving Targets
Leading a moving target requires you to aim ahead of the enemy's current position, with the amount of lead depending on the target's speed and your shell's travel time. A fast-moving target at close range needs only a small lead, while a slow-moving target at long range needs a much larger lead because your shell takes longer to arrive. The distance indicator on your crosshair helps you estimate this, but experience is the real teacher.
Community videos like Cursed Tank Simulator Secrets and Details (Garage) highlight that many players struggle with leading targets because they focus on the enemy's current position rather than where they will be when the shell arrives. The trick is to watch the target's movement pattern for a few seconds, then aim at the point where they will be when your shell lands. This becomes second nature with practice, but the garage test range is the perfect place to build that muscle memory.
Compensating for Shell Drop
Shell drop is the downward arc that every projectile follows over distance, and compensating for it is essential for long-range accuracy. The amount of drop depends on your cannon type and the distance to your target, with heavier shells dropping less than lighter ones. The distance indicator on your crosshair shows the approximate range, and you can use this to estimate how much to raise your aim.
A common mistake is to aim directly at a distant target, which results in your shell falling short because you did not account for drop. Instead, you need to raise your aim above the target by an amount that increases with distance, using the tick marks on your crosshair as a rough guide. The artillery cannon exaggerates this effect significantly, requiring you to arc your shots high into the air to reach distant targets.
Garage Secrets Worth Knowing Before Your Next Match
The garage contains several hidden features that the game does not explain, and discovering them can give you a significant edge over players who never explore the menus. The camera controls let you zoom in and out of your tank, which is useful for inspecting armor angles and identifying weak spots on your own vehicle. You can also rotate the camera to view your tank from any angle, helping you understand how your armor layout looks to enemies.
The F1 key opens the help menu while in-game, which the official Roblox page confirms contains controls and game mechanics information. This menu covers everything from basic movement to advanced combat mechanics, making it a valuable reference for new players who want to learn the game without external guides. The help menu also includes a garage tutorial that walks you through the basics of module swapping and loadout management.
Unlockables: Extra Slots and Camera Options
Some garage features unlock as you progress through the game, including additional loadout slots and advanced camera options that give you more control over your preview. The game does not announce these unlocks, so you have to check the garage regularly to see what new options have appeared. Community reports suggest that reaching certain tier milestones unlocks these features, though the exact thresholds vary by update.
The module comparison tool is another hidden feature that lets you compare two parts side by side, showing their stats in a split view that makes choosing between options easier. This is particularly useful when you are deciding between two cannons with similar stats, because the comparison highlights the exact differences in damage, penetration, and reload time. The tool is accessible by selecting two parts and pressing the compare button, though many players never discover it.
Optimizing Your Garage Workflow
An efficient garage workflow saves you time between matches, letting you spend more time fighting and less time navigating menus. The quick swap feature lets you change individual modules without opening the full loadout panel, which is useful when you only need to adjust one part. You can also duplicate an existing loadout and modify the copy, preserving your original setup while experimenting with changes.
Players who master the garage workflow report spending under 30 seconds between matches, which adds up to significant time savings over a long grinding session. The key is to know exactly what you want to change before opening the garage, rather than browsing modules aimlessly. If you are grinding for specific parts, the grinding guide covers the most efficient ways to earn cash and open crates so you can fill out your garage faster.
Frequently Asked Questions
How do I change the weather in Cursed Tank Simulator?
Press the K key while in the garage to cycle through the five weather presets: clear, rain, snow, fog, and storm. The weather change applies immediately to your garage preview, and the selected weather carries into the test drive range. You cannot change weather during an active match, so set your preferred conditions before deploying.
What is the best cannon for long-range combat?
The heavy sniper cannon is the best choice for long-range combat because it offers high damage, high penetration, and excellent accuracy with a manageable reload time. The artillery cannon deals more damage but requires significant practice to master its arcing shell trajectory. Choose based on your comfort with leading targets and compensating for shell drop.
How many loadout slots does the garage have?
The garage supports five loadout slots that let you save different tank configurations and switch between them instantly. Each slot remembers your exact module combination, including hull, turret, cannon, tracks, and gadgets. You can name each slot to identify its purpose, such as sniper, brawler, or balanced.
Does weather affect shell ballistics?
Yes, rain and storm conditions increase shell drop by roughly 5 to 10 percent, requiring you to aim higher than usual. Snow reduces traction significantly, making it harder to hold a steady aim position. Fog severely limits visibility but does not affect shell drop, while clear weather provides standard ballistics with no modifiers.
What does the F1 key do in Cursed Tank Simulator?
The F1 key opens the help menu while in-game, which contains controls and game mechanics information. The menu covers basic movement, combat mechanics, and includes a garage tutorial for new players. Press F1 anytime you need a quick reference for how a specific mechanic works.