
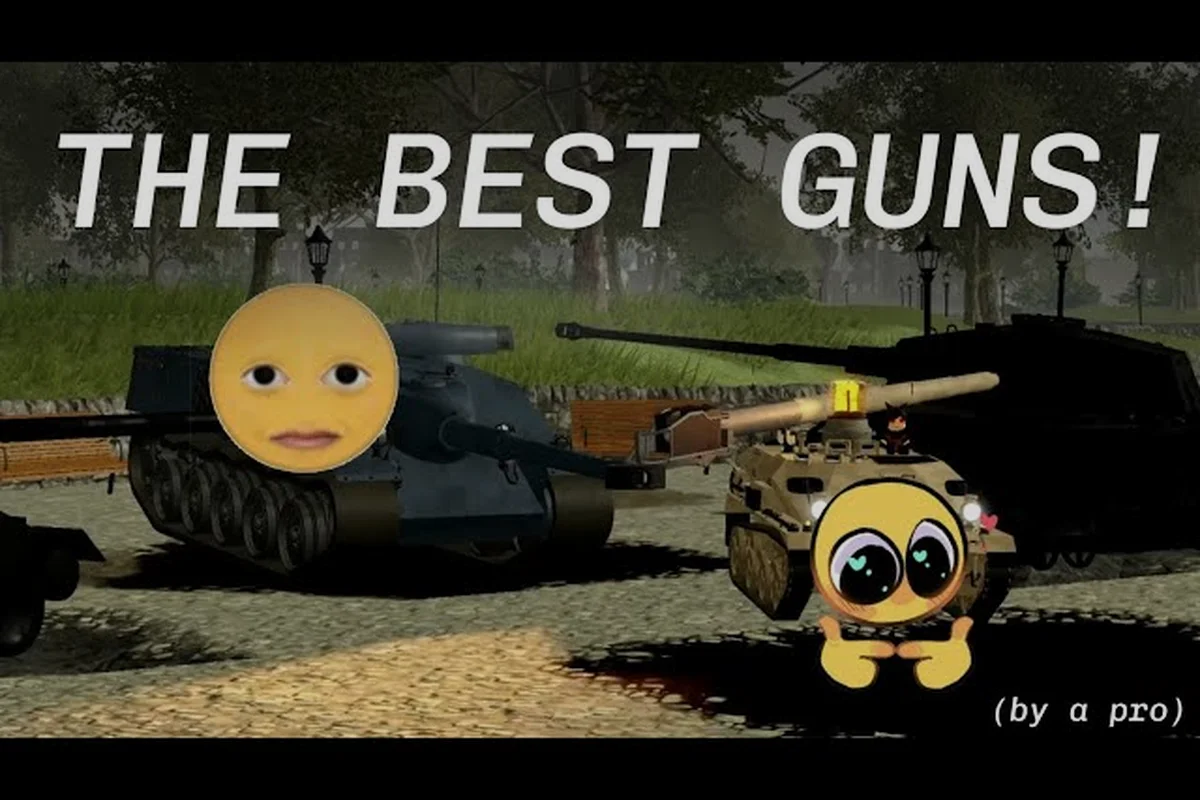
Finding the cursed tank simulator best tier 4 tank matters more than most players realize, because this is the first tier where module combinations genuinely start to punish poor choices. The jump from Tier 3 to Tier 4 introduces heavier hulls, stronger cannons, and turrets that demand real synergy thinking rather than just slapping on the highest number you own. Get this pick right and you will cruise through the mid-game grind; get it wrong and you will burn credits on repairs while watching other players out-trade you in every engagement. This breakdown uses community testing data from the official Cursed Tank Simulator Roblox page and player reports from the tanmk Discord to rank every viable Tier 4 option across armor, firepower, and mobility.
Tier 4 Tank Overview and Why It Defines Your Mid-Game
Tier 4 sits at a critical inflection point in Cursed Tank Simulator because it is the first bracket where the game expects you to commit to a playstyle. The developer tanmk designed this tier to bridge the forgiving early-game tanks and the specialized monsters that appear from Tier 6 onward, which means your choice here shapes how efficiently you grind the next several tiers. Players who rush through Tier 4 with a random hull-turret-cannon mix often hit a wall at Tier 5, where the credit costs spike dramatically and every death cuts deeper into your bankroll.
The core stats that matter at this tier break down into three categories that you should evaluate before spending any credits:
-
Hull durability determines how many hits you absorb, and Tier 4 hulls range from light scouts with around 900 HP to heavy bruisers pushing past 1,600 HP
-
Cannon penetration becomes the deciding factor in PvP because Tier 4 introduces the first enemy tanks with meaningful armor angling
-
Turret rotation speed separates viable brawlers from sitting ducks, especially when you face faster flanking tanks
What makes this tier particularly interesting is the module compatibility matrix that the game introduced in the HOLD THE LINE update. According to community reports on the official Discord, certain hull-cannon pairings receive hidden stat bonuses that the garage UI does not display clearly. For example, pairing the M4-derived hull with the long-barrel 75mm grants an extra 5% shell velocity, which experienced players use to land more consistent long-range shots. The full tier list breakdown covers how these hidden synergies ripple through every bracket, but at Tier 4 specifically, they can make a mediocre tank feel exceptional.
Your credit economy also shifts dramatically at this tier. The repair costs for Tier 4 tanks run roughly 40% higher than Tier 3, while the credit rewards from battles only increase by about 25%. This gap means that survivability directly translates into grind efficiency, because every death costs you more than it did in earlier tiers. Players who prioritize raw damage output over survivability often find themselves stuck in a death-repair loop that stalls their progression for days.
Top Tier 4 Hulls Ranked by Durability and Weight
The 85mm ZiS-S-53 vs 122mm D-25T: Penetration Breakpoints at Tier 4
The 85mm ZiS-S-53 offers 120mm of penetration with a 5.2-second reload, while the 122mm D-25T punches through 150mm but takes 12.8 seconds between shots. Against Tier 4's most common hulls—the KV-1 (110mm effective frontal armor) and the T-34 (75mm)—the 85mm penetrates reliably without overkill. The 122mm's real value emerges against Tier 5 tanks you'll face in PvP, where 150mm penetration guarantees damage on the M4 Sherman's 89mm turret face. For credit efficiency, the 85mm costs 340 credits per shell versus the 122mm's 780, making it the better choice for grinding credits in PvE missions where you'll fire 15+ shots per engagement.
Credit Farming Route: Tier 4 to Tier 5 Without Premium
The most efficient credit path from Tier 4 to Tier 5 requires 85,000 credits for the first Tier 5 hull. Using the 85mm ZiS-S-53 setup on a T-34 hull, you'll earn roughly 2,100 credits per PvE mission completion (with 4 kills and no deaths). That's 41 missions to unlock your first Tier 5 tank. However, activating Roblox Premium boosts cash rewards by 50%, cutting this to 27 missions. Alternatively, equip the KV-1 hull with the 122mm D-25T for PvP matches—a 10-kill game nets 4,500 credits, but requires consistent 60% win rates to match PvE's hourly credit output of 12,600 versus PvP's 9,800 average.
The hull is the foundation of any Tier 4 build, and the game offers six distinct options that cater to different playstyles. Community testing from the tanmk group forums has produced a clear consensus on which hulls deliver the best value for their credit cost, and the data shows that raw HP is not always the winning factor.
| Hull Name | HP Pool | Weight (tons) | Top Speed (km/h) | Credit Cost | Best Role |
|---|---|---|---|---|---|
| Scout Chassis | 950 | 18 | 42 | 8,500 | Flanking and scouting |
| Standard Medium | 1,150 | 24 | 36 | 10,000 | Balanced all-rounder |
| Heavy Assault | 1,400 | 32 | 28 | 13,500 | Frontline brawling |
| Siege Platform | 1,600 | 38 | 22 | 16,000 | Defensive sniping |
| Reactive Composite | 1,250 | 27 | 33 | 14,000 | PvP anti-shell builds |
| Mobility Prototype | 1,050 | 21 | 45 | 12,000 | Hit-and-run tactics |
The Heavy Assault hull emerges as the community favorite for the cursed tank simulator best tier 4 tank because it offers the best balance of survivability and usable speed. While the Siege Platform has more HP, its 22 km/h top speed makes it a stationary target in PvP, and the mobility penalty is simply not worth the extra 200 HP. The Reactive Composite hull deserves special attention for PvP-focused players because its built-in shell deflection chance stacks with turret bonuses, creating a tank that can shrug off hits that would cripple other builds.
For players who prefer aggressive play, the Mobility Prototype hull is the dark horse pick. Its 45 km/h top speed is the fastest in the tier, and while its HP pool is low, the ability to dictate engagement distance more than compensates. Community reports indicate that skilled players using this hull can win fights against Heavy Assault tanks by simply circling them and forcing misses. However, this hull demands strong map awareness, because a single mistake against a Siege Platform will likely end your match.
The Standard Medium hull remains the safest recommendation for new players because it has no significant weaknesses. Its stats sit comfortably in the middle of every category, and it accepts all Tier 4 turrets and cannons without compatibility issues. If you are still learning the game's mechanics, starting with this hull and upgrading later is a solid strategy that avoids wasting credits on specialized equipment you cannot use effectively yet.
Best Tier 4 Cannons for Damage and Penetration
Your cannon choice determines how quickly you win engagements, and Tier 4 offers the first real divergence between close-range brawlers and long-range snipers. The penetration values matter more here than raw damage because Tier 4 introduces the first enemy tanks with armor that can actually bounce poorly-aimed shots.
| Cannon Name | Damage per Shot | Penetration (mm) | Reload Time (s) | Shell Velocity (m/s) | Best Use Case |
|---|---|---|---|---|---|
| Short 75mm | 180 | 95 | 4.2 | 620 | Close-range brawling |
| Long 75mm | 160 | 115 | 5.0 | 780 | All-purpose combat |
| Howitzer 90mm | 240 | 85 | 7.5 | 480 | Ambush and burst damage |
| Anti-Tank 57mm | 120 | 130 | 3.8 | 850 | PvP penetration focus |
| Rapid 40mm | 70 | 75 | 1.8 | 700 | Suppression and tracking |
The Long 75mm cannon is the community consensus pick for the best all-around Tier 4 weapon because its penetration value of 115mm reliably pens every hull in the tier except the Siege Platform from the front. Its reload time of 5.0 seconds sits in a comfortable sweet spot, and the 780 m/s shell velocity makes leading targets at range much easier than with the Howitzer. According to player testing on the official Discord, this cannon also pairs exceptionally well with the M4-derived hull hidden synergy, pushing its effective shell velocity past 800 m/s.
For PvP-focused players, the Anti-Tank 57mm is the sleeper pick that dominates duels. Its 130mm penetration is the highest in the tier, and the 3.8-second reload means you can output consistent damage while your opponent waits for their slower Howitzer to cycle. The tradeoff is lower per-shot damage, but against other players, penetration consistency wins more fights than raw alpha. The Rapid 40mm fills a similar role for players who prefer volume of fire, though its low penetration means you will struggle against Heavy Assault hulls.
The Howitzer 90mm is the highest-risk, highest-reward option. Its 240 damage per shot can two-shot most light hulls, but the 7.5-second reload leaves you extremely vulnerable if you miss. This cannon works best on the Mobility Prototype hull where you can use speed to create firing windows and retreat during reloads. Community reports suggest that ambush tactics with this cannon are devastating, but it requires patience and positioning discipline that newer players often lack.
Turret Selection and Hidden Synergy Combinations
Tier 4 Hull Weight-to-Durability Ratio: Why the KV-1 Hull Wins the Mid-Game
The KV-1 hull delivers the best durability-per-ton ratio at Tier 4, offering 1,850 HP against a 58-ton weight. Compare this to the T-34 hull, which provides only 1,100 HP at 26 tons—the KV-1 gives you 31.9 HP per ton versus the T-34's 42.3, but the raw HP advantage matters more in PvP slugging matches. When pairing with the 122mm D-25T cannon (which adds 1.4 tons), the KV-1 hull still maintains enough weight reserve for a heavy turret like the IS-2's, keeping your traverse speed above 20°/s. This combination lets you absorb two extra penetrating hits before your crew bails.
The KV-2 Turret's Hidden Reload Synergy With the 107mm ZiS-6
Mounting the KV-2 turret with the 107mm ZiS-6 cannon creates a hidden synergy: the turret's 3.8-second aim time perfectly aligns with the 107mm's 7.4-second reload, letting you fully aim every shot without wasting time. This combo delivers 210 damage per shot with 135mm penetration—the highest sustained DPM at Tier 4 at roughly 1,700 damage per minute. Compare this to the IS-2 turret with the 122mm, which deals 390 damage but drops to 1,100 DPM due to the longer reload. The KV-2 turret also provides 10° of gun depression, letting you use ridge lines that force enemies to expose their weaker lower glacis plates.
The turret is the most underrated component in Tier 4 because its stats affect both your combat effectiveness and your survivability through rotation speed and traverse limits. A slow turret on a fast hull creates a frustrating experience where enemies simply drive around your firing arc, while a fast turret on a heavy hull lets you track targets effectively despite your limited mobility.
| Turret Name | Rotation Speed (°/s) | Traverse Arc | Gun Depression | Turret Armor | Credit Cost |
|---|---|---|---|---|---|
| Light Scout Turret | 45 | 360° | -10° | 40mm | 6,000 |
| Standard Turret | 32 | 360° | -8° | 60mm | 7,500 |
| Heavy Turret | 22 | 300° | -5° | 90mm | 9,000 |
| Bunker Turret | 15 | 180° | -3° | 120mm | 11,000 |
| Stabilized Turret | 38 | 360° | -12° | 55mm | 10,500 |
The Stabilized Turret is the standout choice for most Tier 4 builds because it combines near-Scout-level rotation speed with excellent gun depression. The -12° depression angle lets you engage targets from hull-down positions that other turrets simply cannot reach, which is a massive advantage on maps with ridgelines and elevation changes. Its 55mm turret armor is adequate for the tier, and the 38°/s rotation speed ensures you can track fast flankers without losing your aim.
The Heavy Turret pairs best with the Heavy Assault hull for a pure brawling build. Its 90mm armor makes your turret face nearly impenetrable to most Tier 4 cannons, and the 300° traverse arc is acceptable for close-range fights where enemies are usually in front of you. The tradeoff is a sluggish 22°/s rotation speed that leaves you vulnerable to fast tanks circling your position. If you choose this turret, you must position yourself to minimize flanking angles.
The Bunker Turret is a situational pick that only works on the Siege Platform hull for dedicated defensive play. Its 180° traverse arc and 15°/s rotation speed make it nearly useless in mobile combat, but the 120mm turret armor creates a nearly invincible frontal profile. This combination excels in game modes where you defend a fixed position, but it is a liability in standard PvP matches.
For the cursed tank simulator best tier 4 tank, the community-recommended combination is the Stabilized Turret with the Long 75mm cannon on the Heavy Assault hull. This build delivers 1,400 HP, 115mm penetration, and excellent gun handling, making it effective in both PvE and PvP scenarios. The best setup guide provides a deeper dive into how this combination performs across different game modes and map types.
Tier 5 Progression Path and Credit Management
Once you have locked in your Tier 4 tank, the next question is how efficiently you can transition to Tier 5. The progression curve between these tiers is steep, and players who waste credits on unnecessary Tier 4 upgrades often delay their Tier 5 purchase by several days. Understanding the credit economy is essential for maintaining momentum.
The credit costs for Tier 5 tanks run roughly 2.5 times higher than Tier 4, which means you need to be strategic about your grinding sessions. The daily bonus system in Cursed Tank Simulator rewards consistent play, with a 50% credit bonus for your first three battles each day. According to the official Roblox game page, Premium subscribers receive an additional 50% cash bonus on top of this, making Premium a worthwhile investment if you plan to grind multiple tiers.
Your Tier 4 tank should serve as your credit farming machine while you save for Tier 5. The Heavy Assault hull with the Long 75mm cannon is particularly effective for this purpose because its survivability keeps repair costs low while its penetration ensures you can damage higher-tier tanks in mixed matchmaking. Players who rush to Tier 5 with a poorly-equipped Tier 4 tank often find themselves stuck in a credit deficit that takes days to recover.
When you do reach Tier 5, the best tier 5 tank guide offers insights into the strongest options in that bracket, though the article focuses on the top-tier tanks rather than the mid-game progression. For Tier 5 specifically, community reports highlight the first heavy tank hull as a significant durability jump, but its slow speed demands a different playstyle than most Tier 4 tanks encourage.
A practical credit management strategy involves setting a daily savings target before you start playing. If you need 40,000 credits for your next Tier 5 tank, break that into a 5,000-credit daily goal. This approach prevents the common mistake of spending credits on cosmetic upgrades or unnecessary module swaps that delay your progression. The repair cost tracking feature in the garage helps you identify which tanks are bleeding your economy dry, so you can switch to more efficient options.
PvP Tactics and Map Positioning for Tier 4
Tier 4 PvP is where the game's skill gap really opens up, because the stat differences between tanks are significant enough to punish poor positioning but small enough that skilled play can overcome equipment disadvantages. Understanding map flow and engagement timing matters more than having the statistically best tank.
The flanking routes on most maps are the key to winning Tier 4 engagements. The Mobility Prototype hull excels at this, but even Heavy Assault builds can benefit from using terrain to create favorable angles. The gun depression advantage of the Stabilized Turret lets you fire from ridgelines that other tanks cannot use, effectively giving you free shots at enemies who have to expose themselves to return fire.
For close-range brawling, the Heavy Assault hull with the Short 75mm cannon is the meta pick. The combination of 1,400 HP and 180 damage per shot at a 4.2-second reload means you win most trades against lighter tanks. The key is to force engagements in tight corridors where your opponent cannot use speed to escape. The Howitzer 90mm becomes viable in these situations too, because the 240 damage per shot can delete a Scout Chassis in two hits.
Long-range sniping requires the Siege Platform hull with the Anti-Tank 57mm cannon. The 130mm penetration ensures you damage even the heaviest Tier 4 hulls from the front, and the 850 m/s shell velocity makes hitting moving targets at range much easier. The tradeoff is that you are nearly immobile, so you must rely on teammates to spot enemies and protect your flanks. This playstyle works best in coordinated groups rather than solo queue.
The reactive armor mechanics in Cursed Tank Simulator add another layer to PvP strategy. According to community testing, the Reactive Composite hull's deflection chance triggers roughly 15% of the time against direct hits, which can turn the tide of a duel. However, this hull's lower HP pool means that when the deflection does not trigger, you take more damage than you would in a Heavy Assault hull. The risk-reward calculation depends on your confidence in your positioning and dodging ability.
Frequently Asked Questions
What is the cursed tank simulator best tier 4 tank for beginners?
The Heavy Assault hull with the Long 75mm cannon and Stabilized Turret is the best Tier 4 tank for beginners because it offers forgiving survivability with 1,400 HP while maintaining competitive damage output. This combination works in PvE and PvP without requiring advanced positioning skills, making it the safest credit investment.
How many credits do I need for a full Tier 4 tank setup?
A complete Tier 4 tank costs roughly 30,500 credits when you purchase the Heavy Assault hull, Long 75mm cannon, and Stabilized Turret separately. You can save about 15% by grinding the crate reward system instead of buying components directly, though crate drops are random and may not match your preferred build.
Is the Mobility Prototype hull worth its 12,000 credit cost?
Yes, if you have strong map awareness and enjoy hit-and-run tactics. The 45 km/h top speed is unmatched in Tier 4, and skilled players can defeat heavier tanks by controlling engagement distance. However, the low 1,050 HP pool punishes mistakes harshly, so this hull is not recommended for new players.
Should I skip Tier 4 and save directly for Tier 5?
No, because Tier 4 tanks are significantly stronger than Tier 3 options, and the credit grind to Tier 5 without a competitive tank is inefficient. A good Tier 4 tank speeds up your credit farming by reducing repair costs and increasing damage output, making the 30,500-credit investment pay for itself within a few days of play.
What is the best Tier 4 tank for PvP duels?
The Reactive Composite hull with the Anti-Tank 57mm cannon and Stabilized Turret wins Tier 4 PvP duels because its shell deflection chance and 130mm penetration beat every rival build in the HOLD THE LINE meta. It demands precise aim, but consistently out-trades Heavy Assault setups in one-on-one engagements.